Template Builder
The template builder allows you to design the containers your items can be placed in.
A template is made up of rows and columns, similar to a table.
You can create named areas that will occupy a number of cells in the table.
Think of the template as a grid of rows and columns. Think of an area as a box that will take up a number of rows and columns.
Named area's can have items added to it in layout mode.
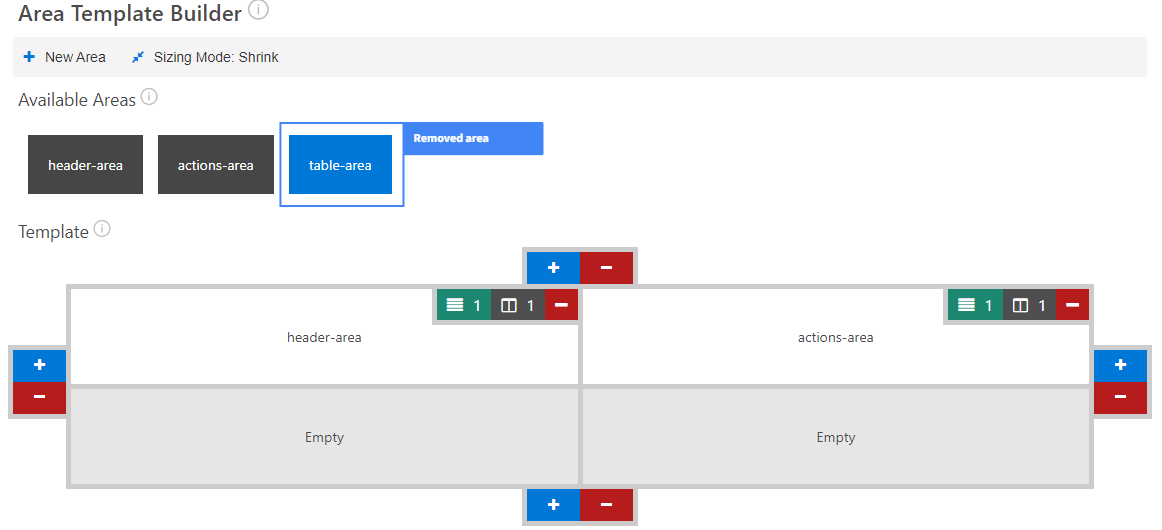
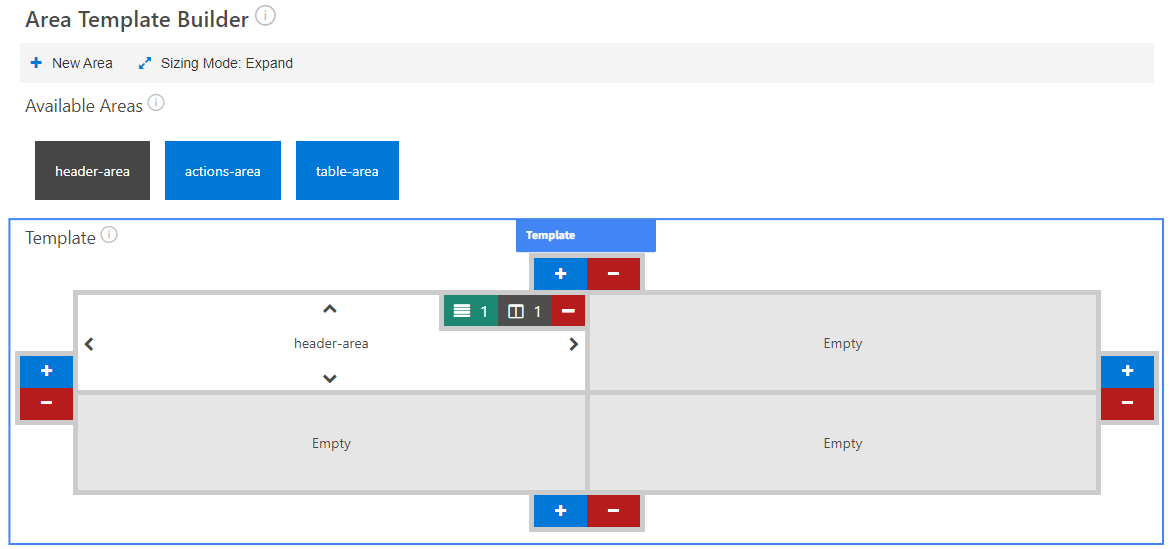
In the below example we have a template that has 2 rows and 2 columns and three areas.
header-area has been placed in the first column of the first row.
actions-area has been placed in the second column of the first row.
table-area has been placed in both the first and second column of the second row.
UI Elements
Below details all of the UI elements of the template builder.
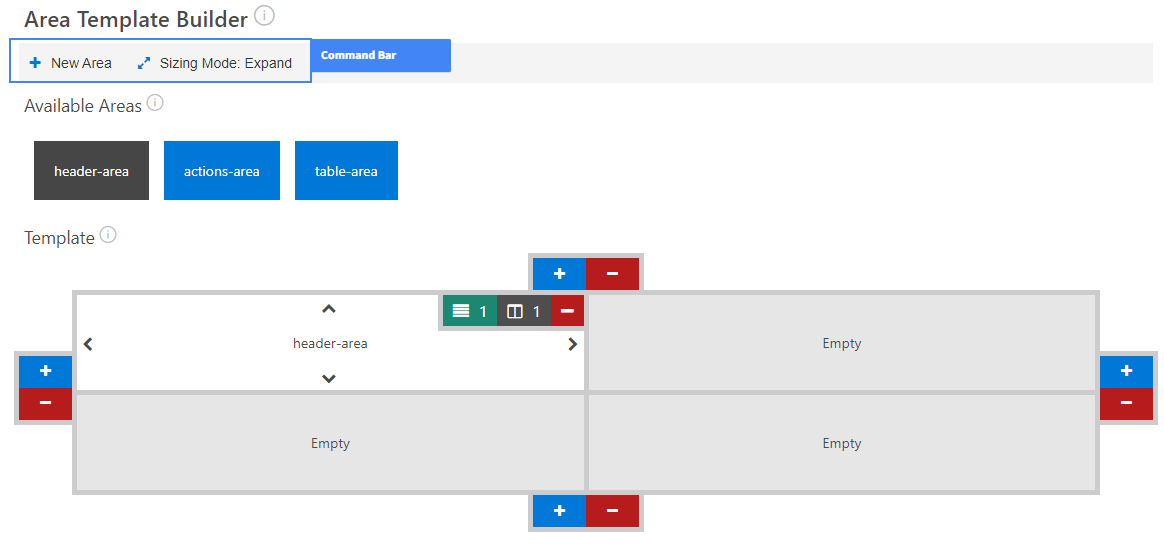
Command Bar
The command bar allows the following:
- Add New Area
- Add a new area into the layout
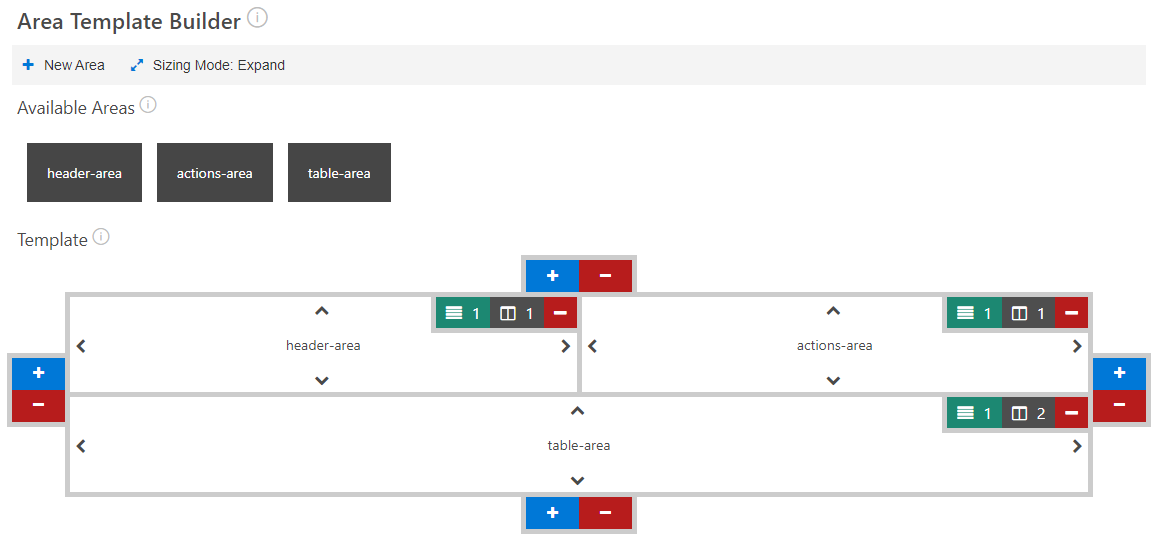
- Sizing mode
- Toggles between expand and shrink sizing modes for area's
Available Areas
The available areas section displays all of the areas you have created for your layout.
An area with a grey background is currently in use one the layout.
An area with a blue background is yet to be added to the layout.
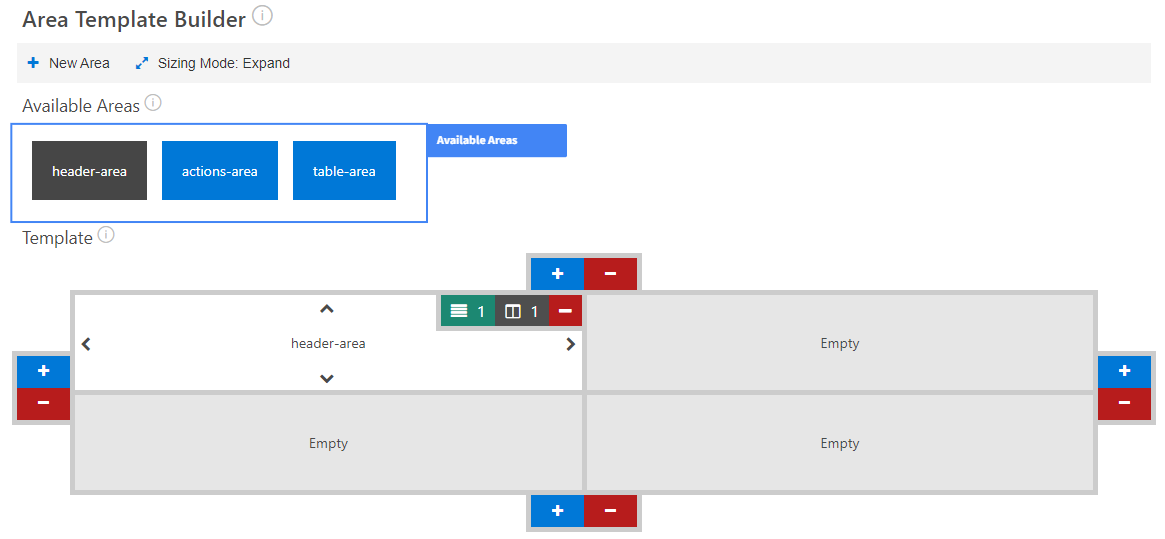
If you want to delete an area hover over it's card and click on the trash can.
Template
The template area is where you can add rows, columns and place areas.
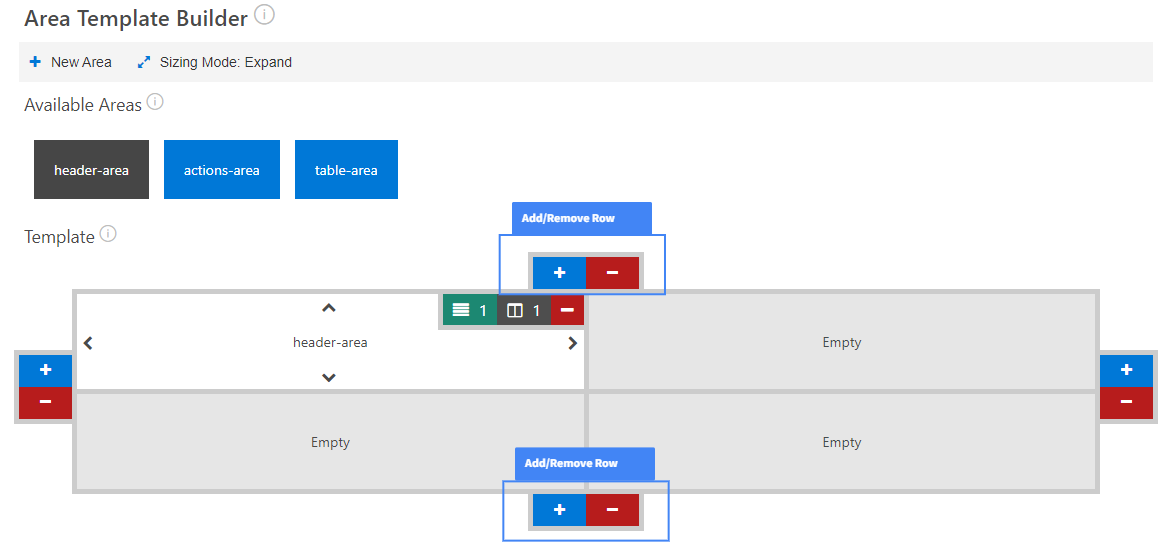
Add/Remove Row
To add or remove a row from your template use the plus or minus buttons at the top or bottom of the template.
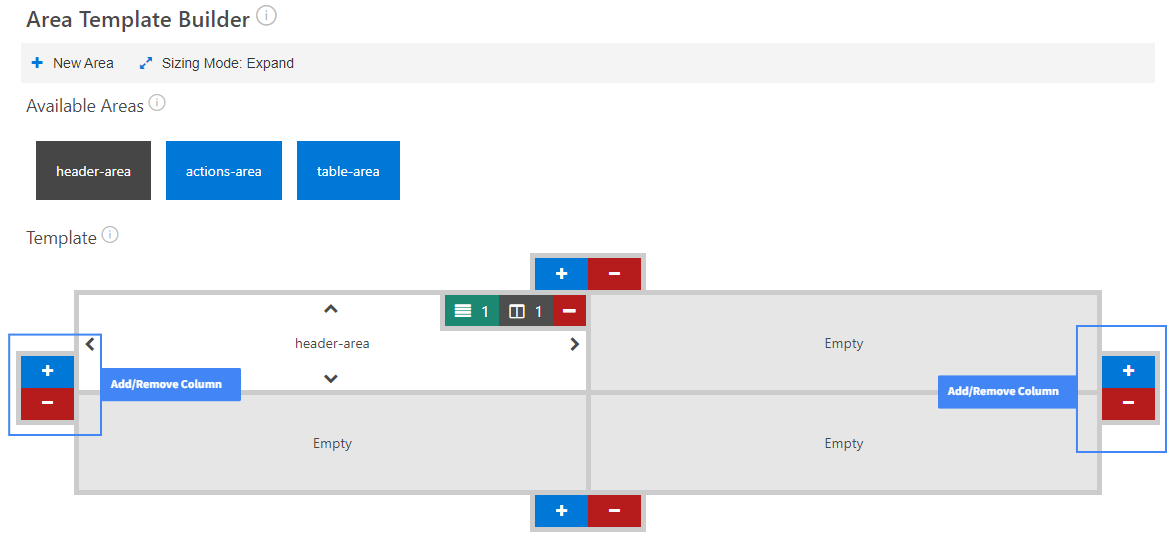
Add/Remove Columns
To add or remove a column from your template use the plus or minus buttons at the left or right of the template.
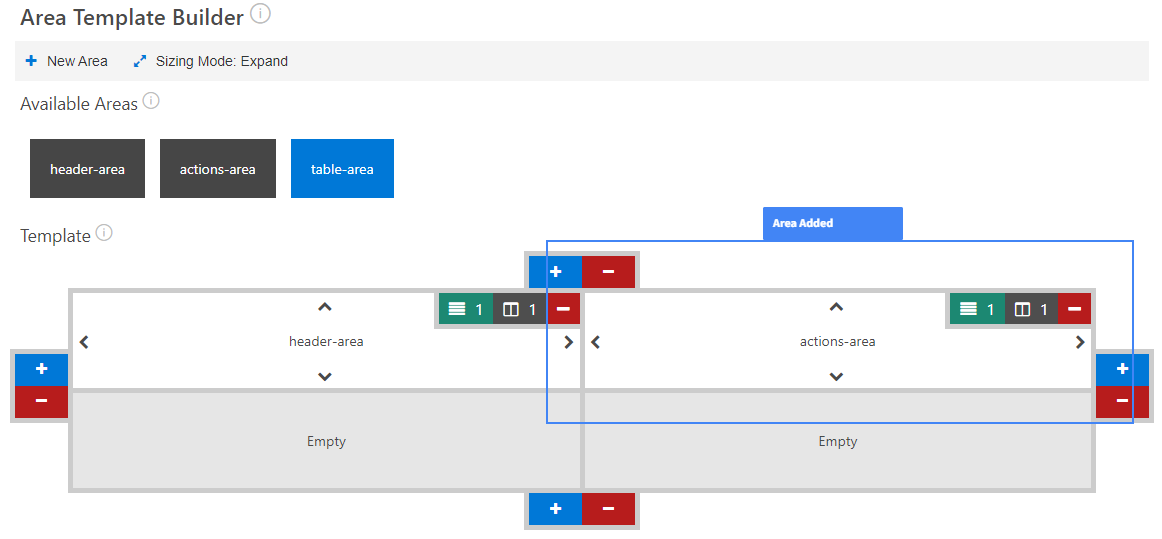
Adding an area to an empty cell
To add an area to an empty cell drag and drop the area out of the available areas section and onto an empty cell
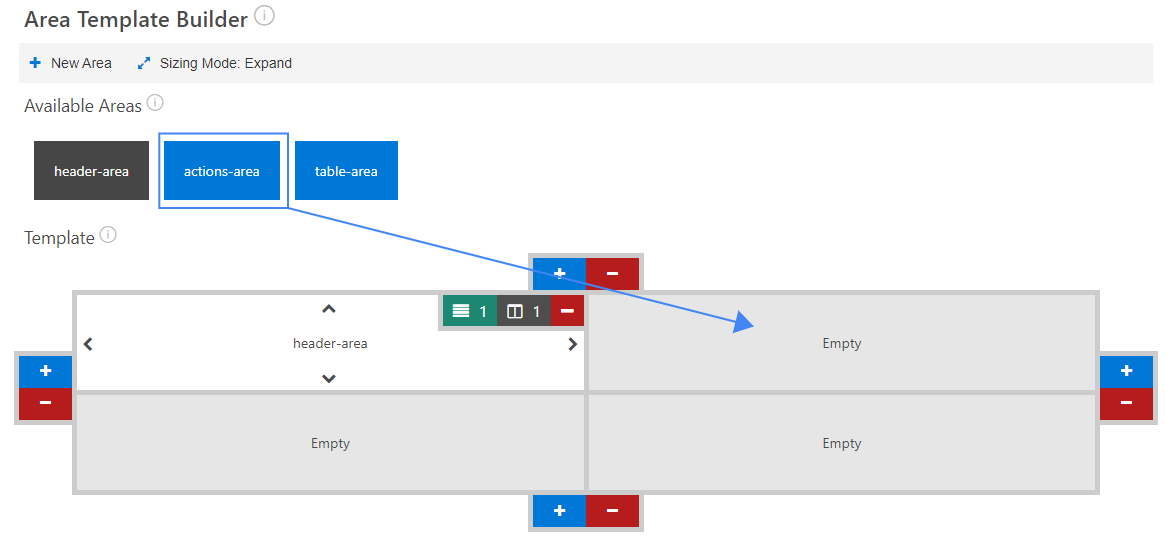
Your area will then be added to the layout
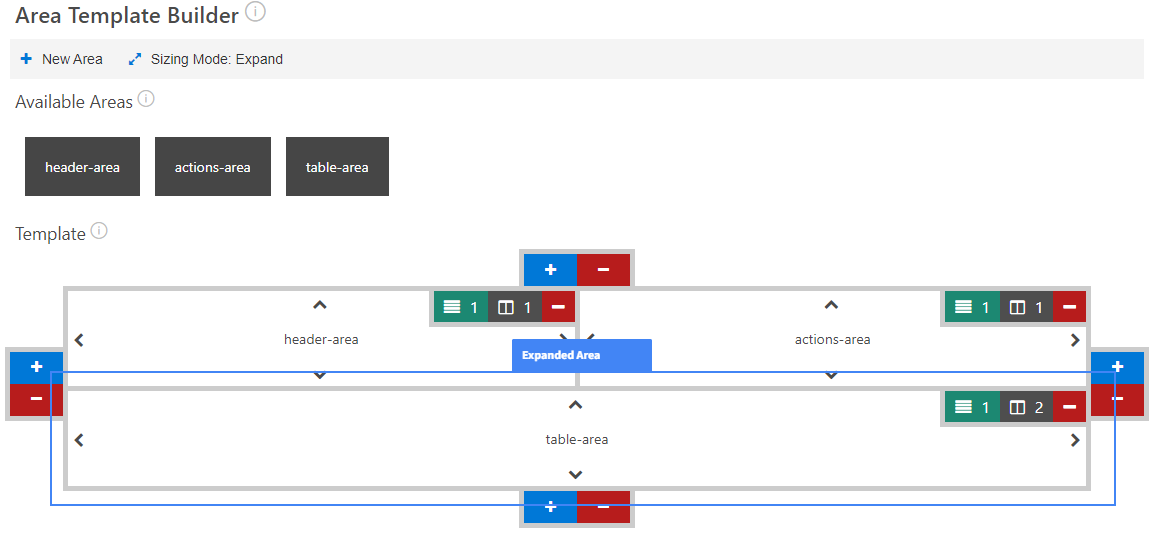
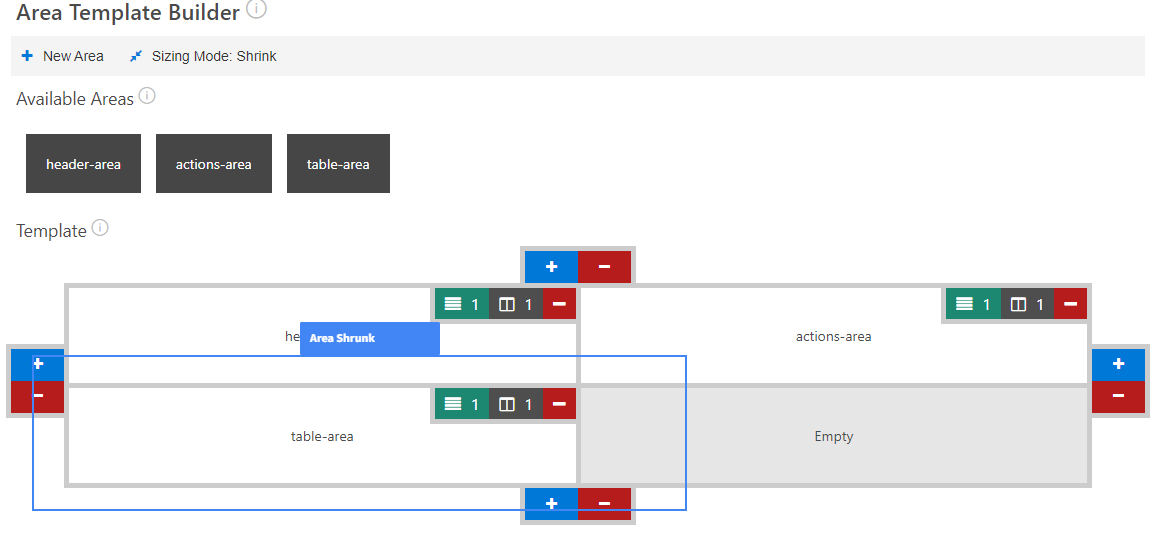
Expanding/shrinking areas
Areas that have been added to the layout can be expanded and shrunk depending on what the current sizing mode is set to.
To expand make sure the sizing mode is set to expand. Then click on one of the available expansion arrows around your area.
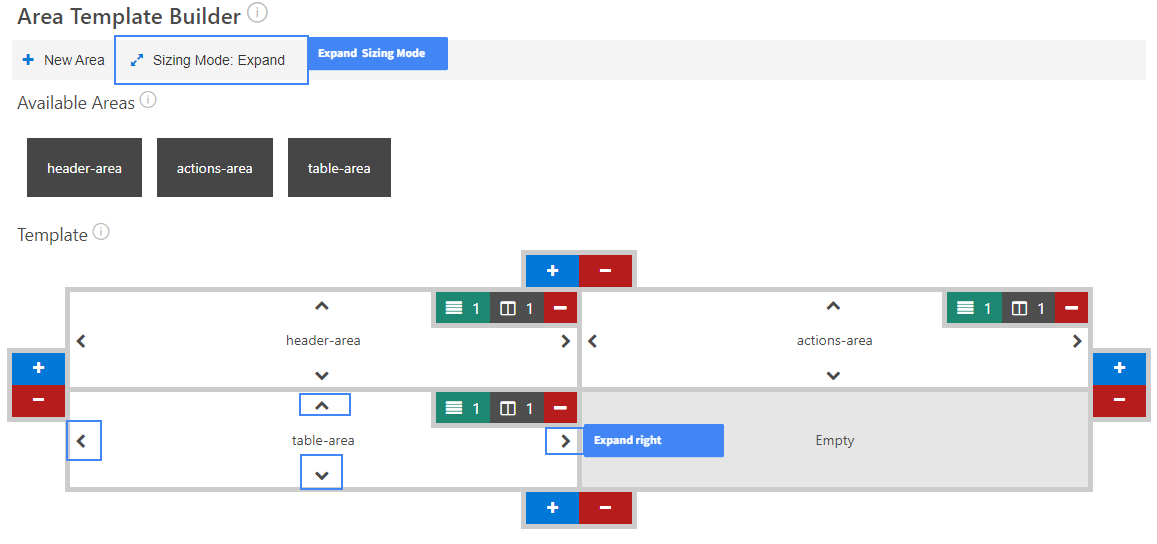
Your area will expand in the direct chosen.
To shrink make sure the sizing mode is set to shrink. Then click on one of the available shrink arrows around your area.
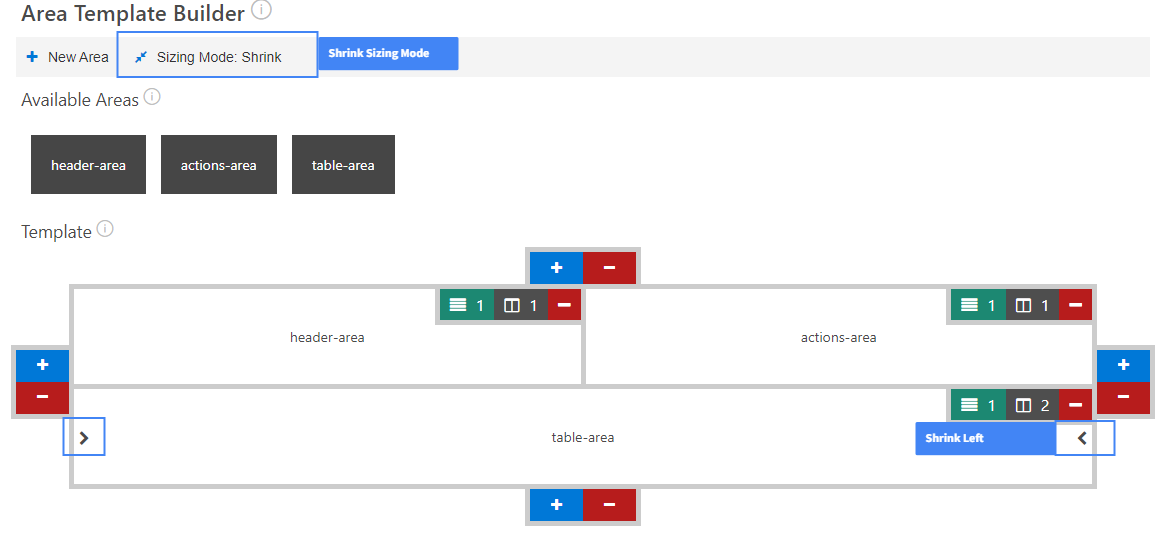
Your area will shrink in the direct chosen. If there are no arrows your area has been shrunk as small as it can be.
Remove an area from the template
To remove an area form the template use the minus button in the top right of the area you would like to remove.

Your removed area will then be available again to be dragged into a new location, or deleted from the layout.