CreataCRM VueJs Components
config options
- View Item id - name of component e.g. invoice-lines
invoice-items
- Mappings - uses for reading data and writing data
[
  {
    "PropertyName": "Oid",
    "Processor": "DirectValue",
    "Options": {
      "$type": "DBP_CRM.Module.Web.Handlers.Xaf.ClientPageApiHandler.Processors.DirectValueProcessorOptions, DBP_CRM.Module.Web",
      "Field": "Oid",
      "ReadOnly": false
    }
  }
]
- Component markup - used for providing extra configuration for the component
<invoice-lines :property-value = "Value" @value-changed="PropertyEditorValueChanged"></invoice-lines>
Developing with VueJs and CreataCRM
- Download Source
- npm install
- npm run build-bundle
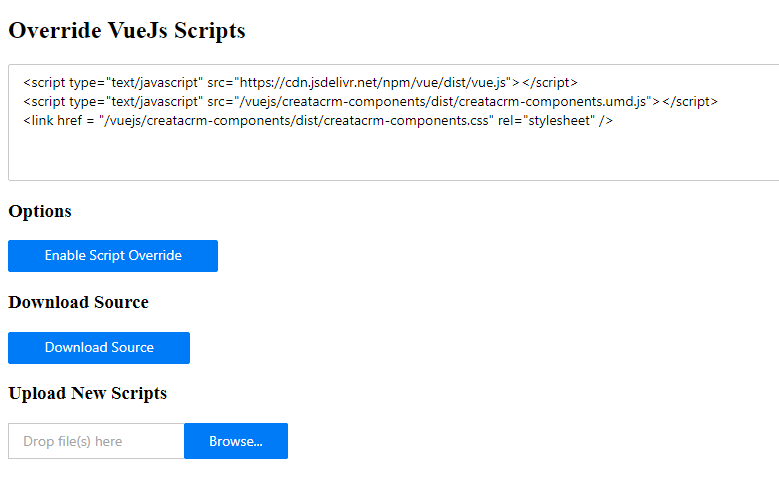
Using the Developer control panel
To use the developer control panel your user must have Allow Developer Access checked.
The Developer Control Panel is then accessible at the following url ~/Developer/ControlPanel.aspx
The control panel allows you to do the following.
- Override the paths that the VueJs scripts are loaded from. This is useful to use a local webserver to serve customized versions of the scripts during development. An example of this would be http-server
<script type="text/javascript" src="https://cdn.jsdelivr.net/npm/vue/dist/vue.js"></script>
<script type="text/javascript" src="http://127.0.0.1:8081/creatacrm-components.umd.js"></script>
<link href = "http://127.0.0.1:8081/creatacrm-components.css" rel="stylesheet" />
- Enable/Disable overriding scripts for the current session.
- Download Source - Downloads a zip of the current VueJs Source
- Upload new Scripts - Allows uploading new source Zip archive. Please ensure you have compiled the package before uploading, as compilation is done on the server.